
Red velvet cake is moist, bright, and often times a great crowd pleaser as you cut into the white cream cheese frosting and reveal its scarlet interior promising great flavour and a hint of cocoa. On this occasion I made a naked cake, one that only has a hint of frosting on the sides, giving us a hint of what awaits inside, and filled it with a thick layer of frosting, raspberries, and crumbled chocolate.

The recipe for the cake part comes from America’s Test Kitchen Family Cookbook, while the frosting comes from a great website called Joy of Baking, a great source of tested recipes.
INGREDIENTS
For the Cake
- 2-1/4 cups of all-purpose flour
- 1-1/2 teaspoons baking soda
- 1 cup buttermilk (I made mine by having a cup of milk and adding a tablespoon of white distilled vinegar)
- 2 eggs
- 1 tablespoon distilled white vinegar (on top of the one you may have used to make the buttermilk)
- 1 teaspoon vanilla extract
- 2 tablespoons unsweetened cocoa powder
- 2 tablespoons red food colouring
- 12 tablespoons of unsalted butter at room temperature
- 1-1/2 cups sugar
For the Cream Cheese Frosting and Fillings
- 8 oz of cream cheese (buy the regular kind, avoid any reduced fat or whipped versions) at room temperature
- 8 oz of mascarpone cheese at room temperature
- 1 teaspoon vanilla
- 1 cup (115 grams) confectioners' sugar
- 1-1/2 cups cold whipping cream
- 1 cup fresh raspberries
- 1 tablet Mexican chocolate, or any chocolate that you can break up and has a slight crunch (the chocolate is used as much for taste as for its texture)

Preheat oven to 350˚F.
Grease and flour two 9-inch round pans (I used 8-1/2 and it still worked) and line the bottom with a round of parchment paper.

Whisk the flour, baking soda and salt in a bowl.

In a separate bowl, whisk the buttermilk, eggs, vinegar, and vanilla.

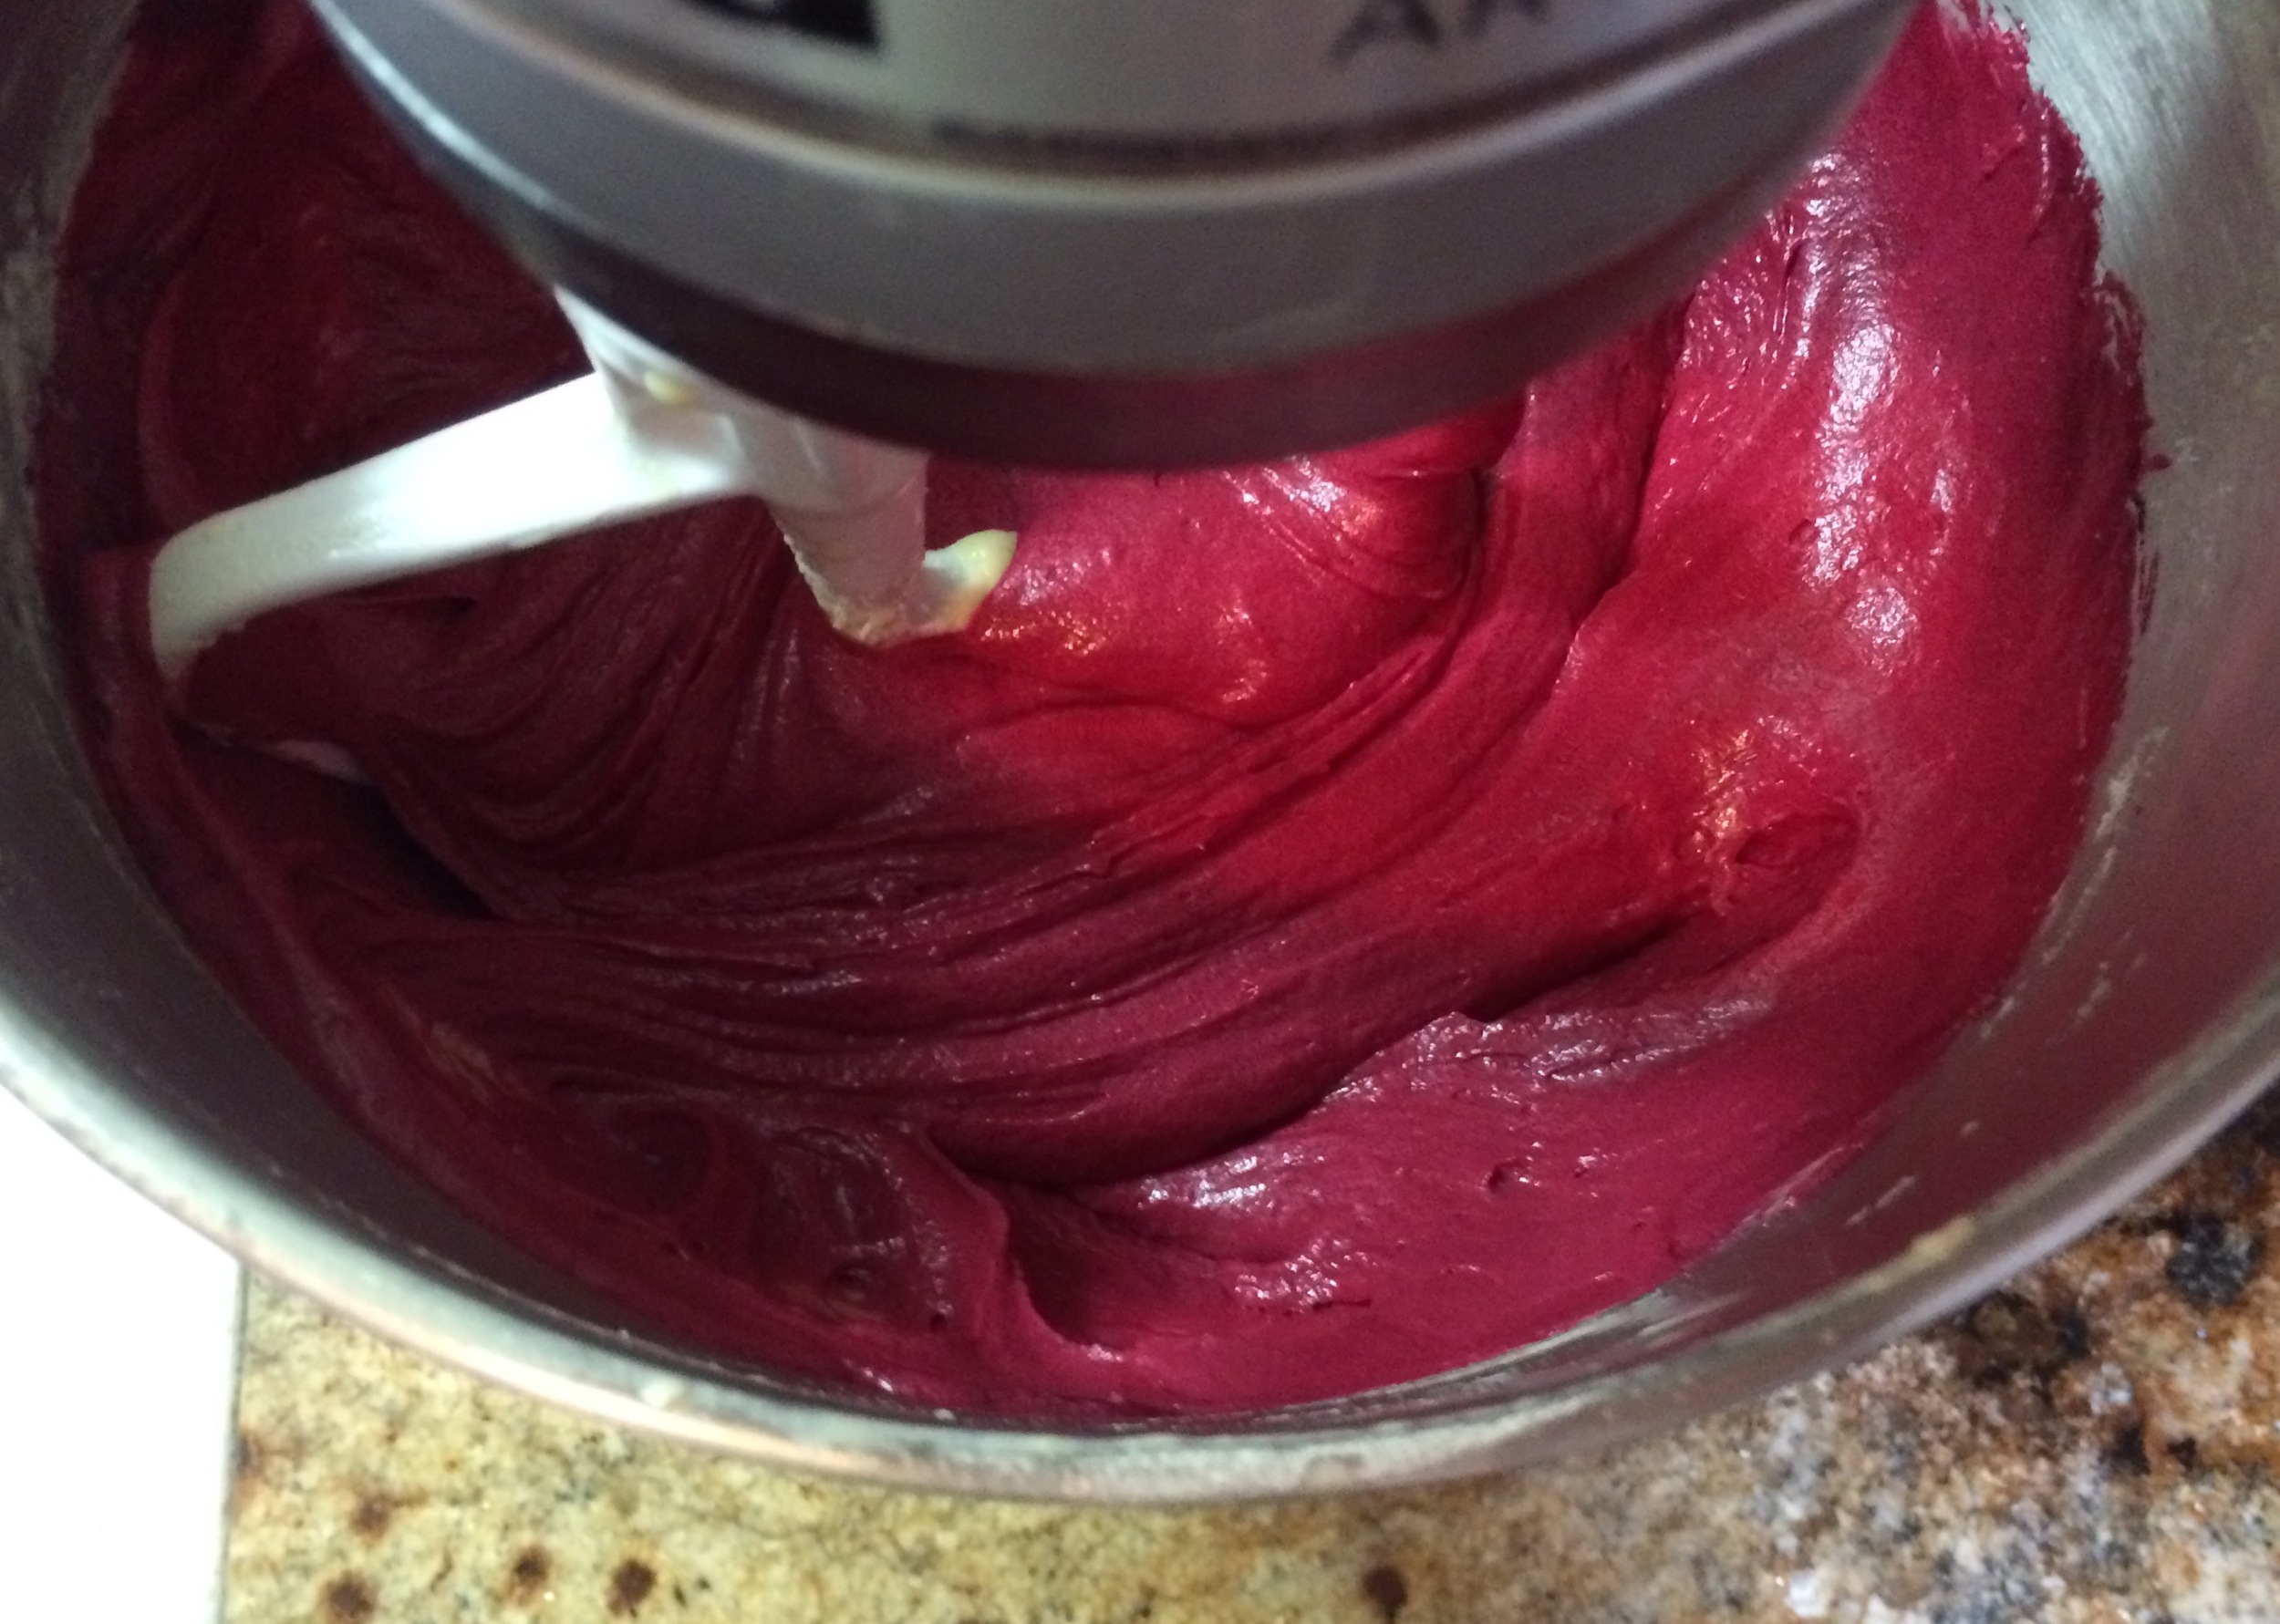
In a small bowl, combine the cocoa powder and red food colouring until you get a thick, even paste.

On a stand mixer using the paddle attachment, cream the butter and sugar until it is light yellow and fluffy.

Reduce the speed to low and alternate by adding the flour mixture in 3 additions, and the buttermilk mixture in two additions.

Add the cocoa mixture and beat until it turns and even colour. Make sure you give it a final beating by hand as there will be parts on the bottom and sides of the bowl that may not have mixed completely.
Divide the batter evenly between your two pans (I used a scale to make sure I had the same amount), making sure that you run the batter all the way to the edge, and tap the pans lightly against the counter to remove any air pockets.

Bake for 25 to 30 minutes, rotating and switching pans halfway through your baking time, until a skewer inserted in the middle of the cake comes out clean. Place on a wire rack and let cool for 10 minutes.
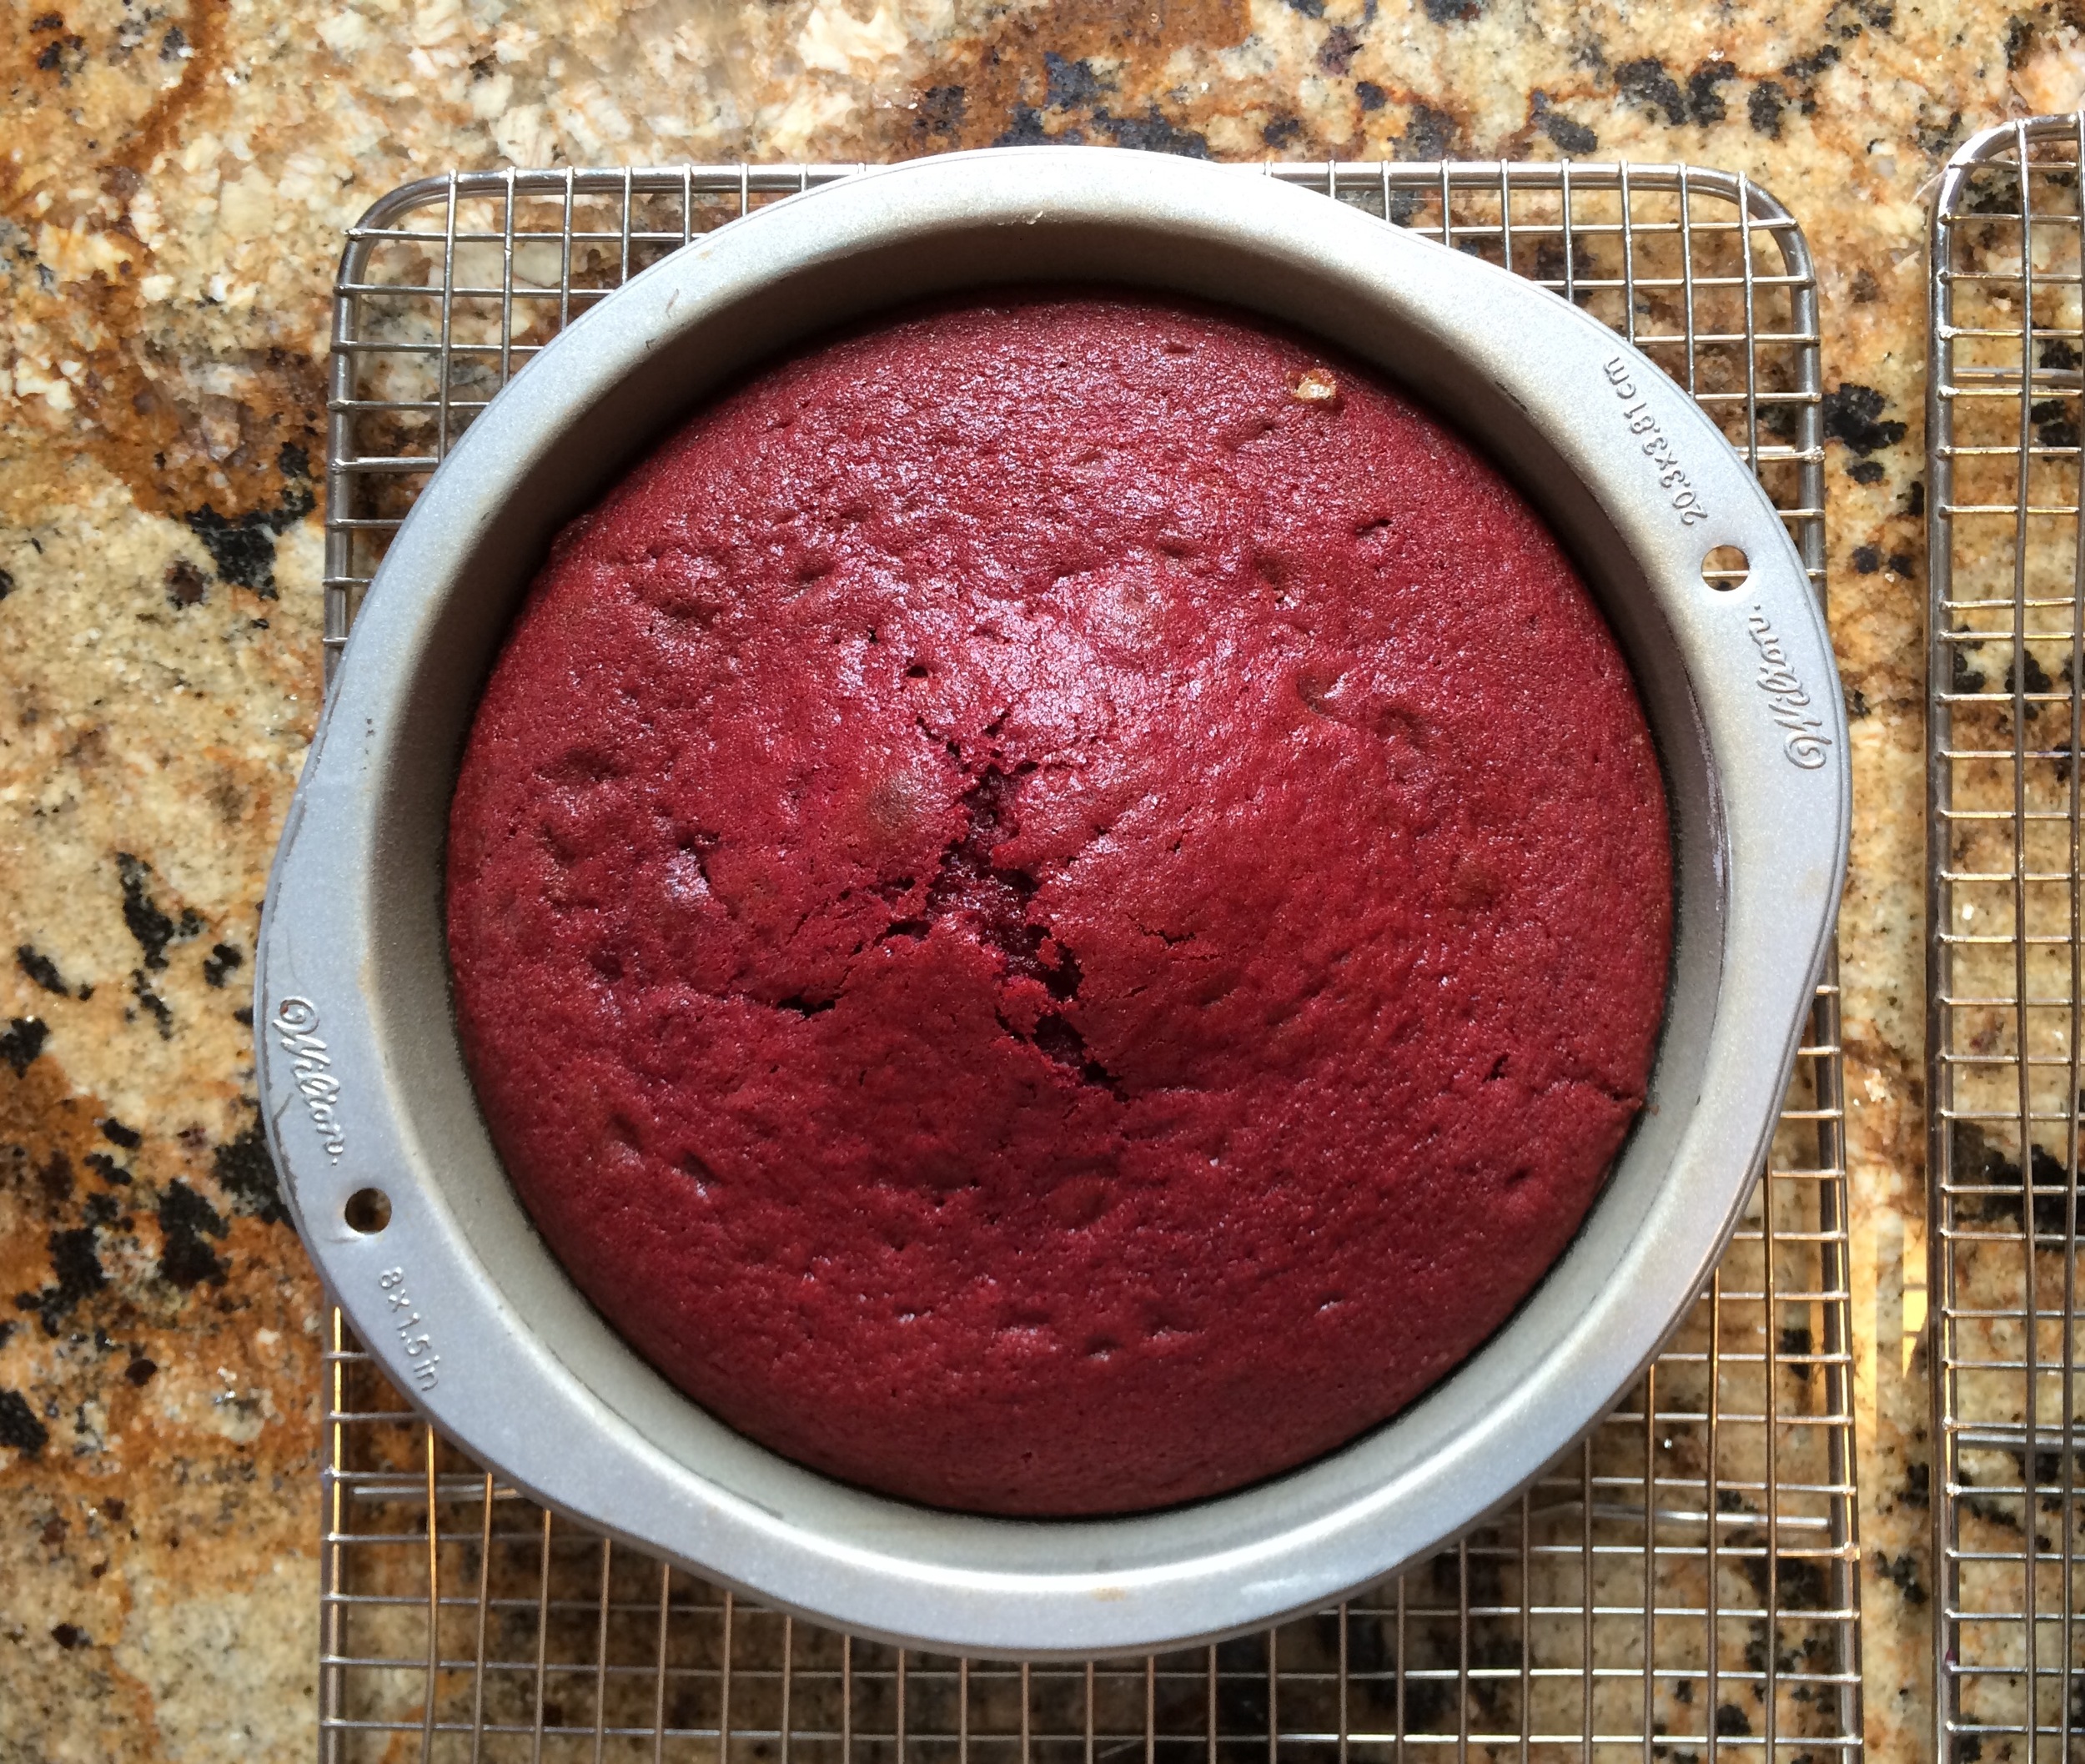
Run a knife or thin spatula along the edge and reverse the cake onto the rack. Carefully remove the parchment paper, and let cool completely, for about 2 hours.

Preparing the Frosting and Fillings

Using an electric mixer, whip the cream cheese and the mascarpone cheese until well incorporated. Add the confectioners' sugar and mix on low speed. Add the vanilla once the mixture is well mixed. Put mixer to high and beat in the whipping cream in a thin stream.
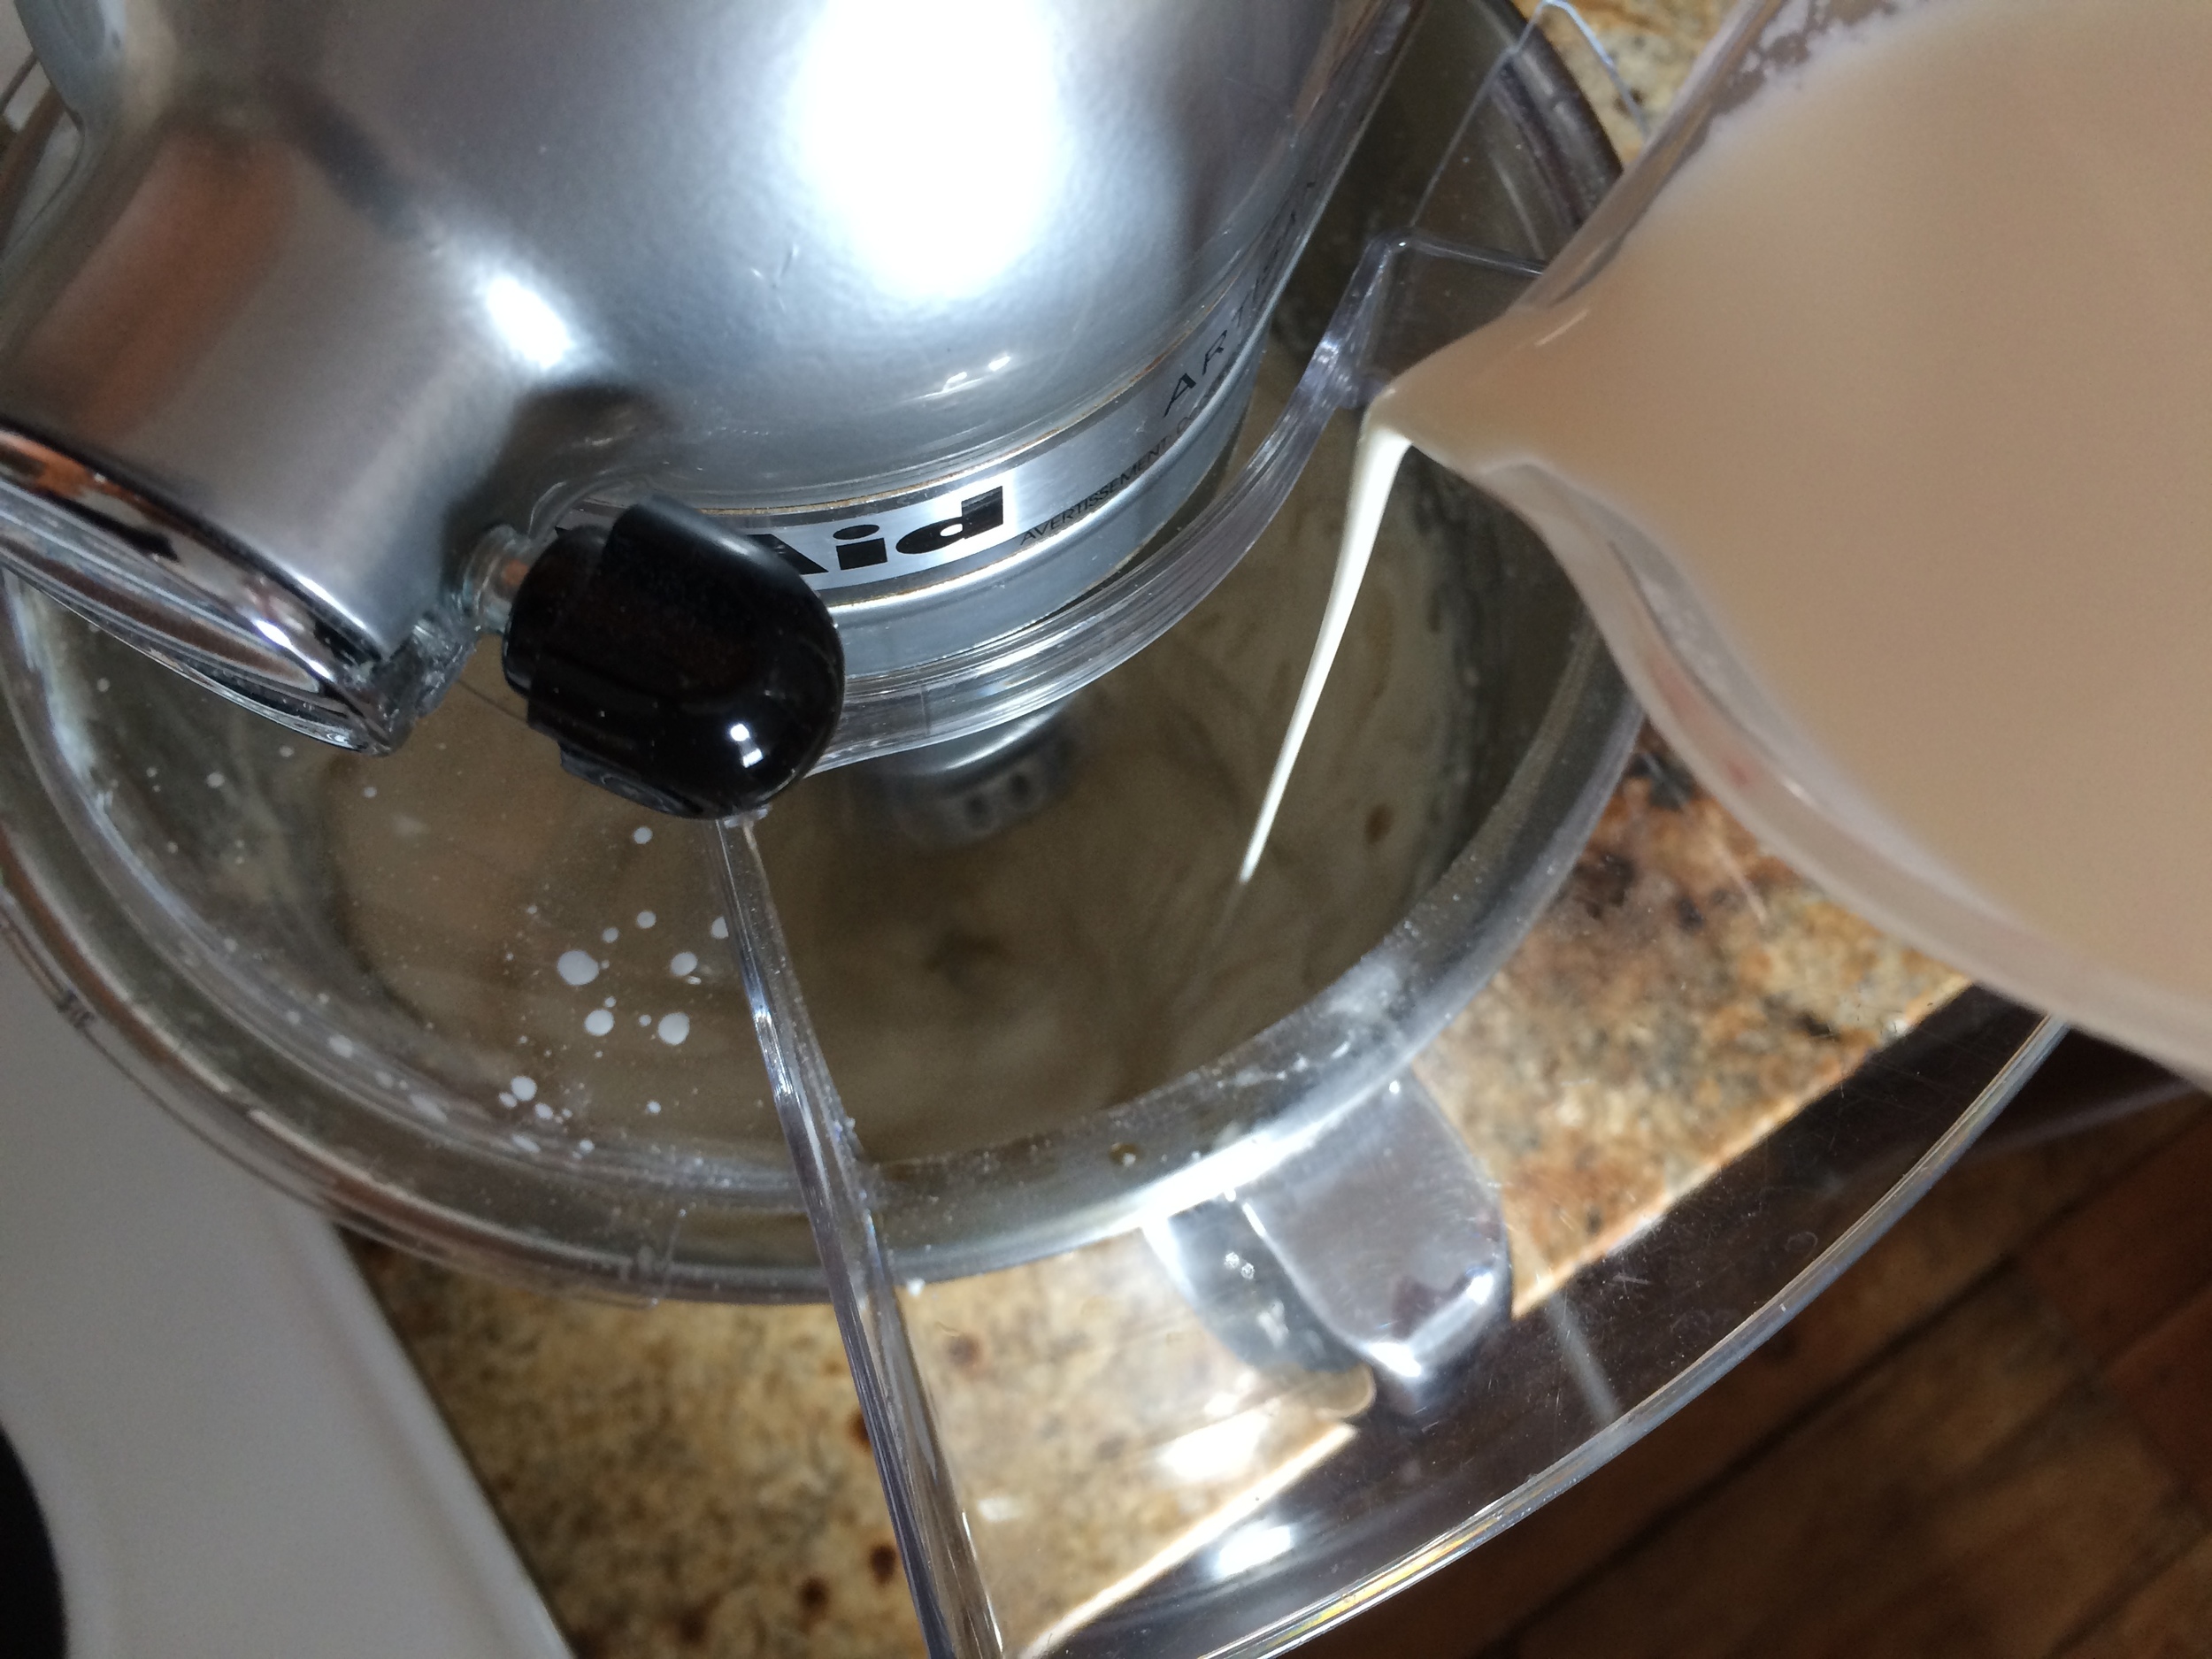
Whip until it gains volume and it is of spreading consistency.

Cream cheese frosting is a bit runny, so make sure you refrigerate for about 30 minutes before you use it. Wash and dry the raspberries. Crumble the chocolate into small bits.
Filling and Decorating the Cake
Even out the cake by cutting the bump on the top part (if this formed during baking) and reserve it for later. Place one layer on top of the other, with the bottoms on the top, with strips of wax paper below to control for the crumbs. Cut the sides with a thin serrated knife, taking care that you cut as best as you can, respecting the circular form. You can save the shavings from the sides for later. We do this in order to make sure that the bright red comes out in our naked cake.

Remove the top layer and add a very thin layer of cream cheese frosting on the layer that will be on the bottom. Arrange some of the raspberries around the other edge, and place a single one in the middle. Make sure to save some raspberries for the top. Fill the empty spaces with the cream cheese frosting, making sure your layer goes all the way to the same height as the raspberries. Place most of the chocolate bits on top, reserving two tablespoons aside.

Place the other cake layer on top and do your initial frosting on the top, and fill the gaps on the side where you have the raspberries. Leave in the refrigerator for about 10 minutes to set.

Remove from refrigerator and with a thin spatula, lightly scrape, in one long movement, any excess frosting from the sides. This will give it the “naked” effect. Remove the strips of wax paper from the bottom and even out the edge.
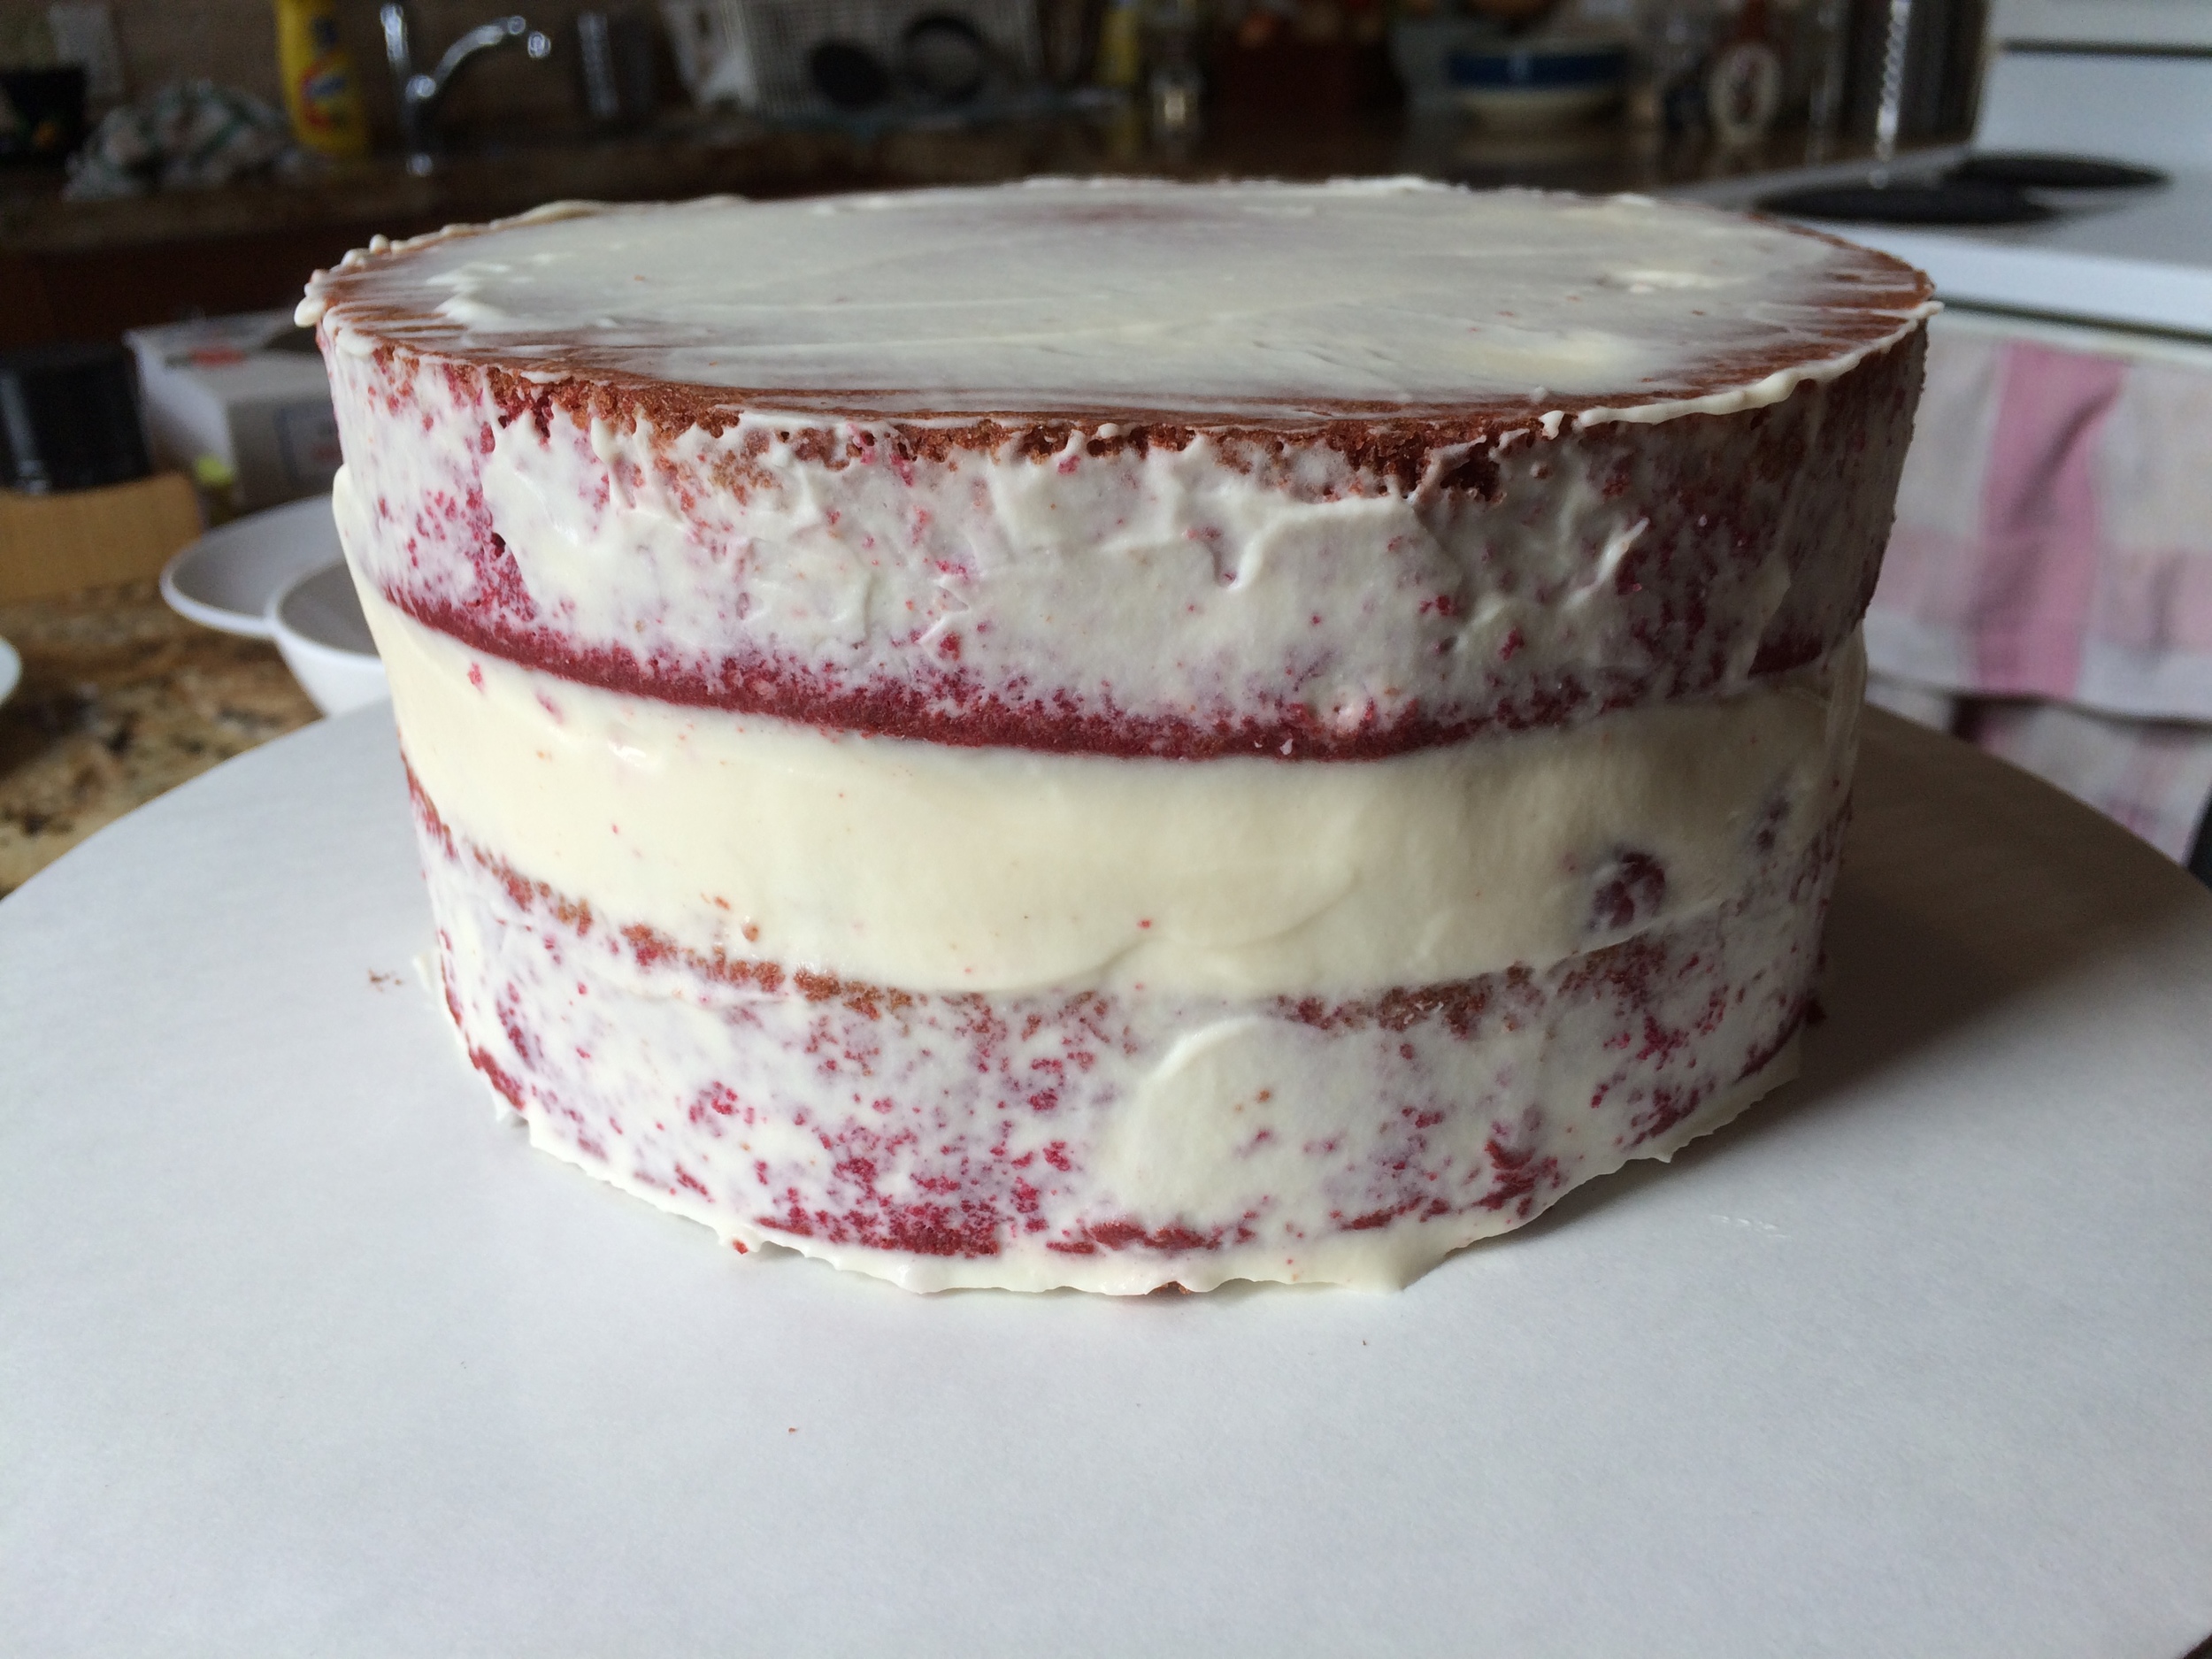
Carefully place a large dollop or cream cheese frosting on top, making sure that it does not run over the sides. Place some of the remaining raspberries, chocolate bits, and crumble some of the cake shavings from the top (the non-brown parts) onto the top of the cake.

Return the cake to the refrigerator to set the frosting. This cake is best enjoyed at room temperature, and cutting into it will give you two bright red layers, with a beautiful white, brown and red filling.

This cake was for a birthday party, so here are some cool fireworks from that evening.
